Automate Expense Tracking with AI (Step-by-Step)
I used to spend hours each month sorting receipts and updating spreadsheets. Then I set up an AI-powered expense tracker in 45 minutes. Here's exactly how you can do the same.


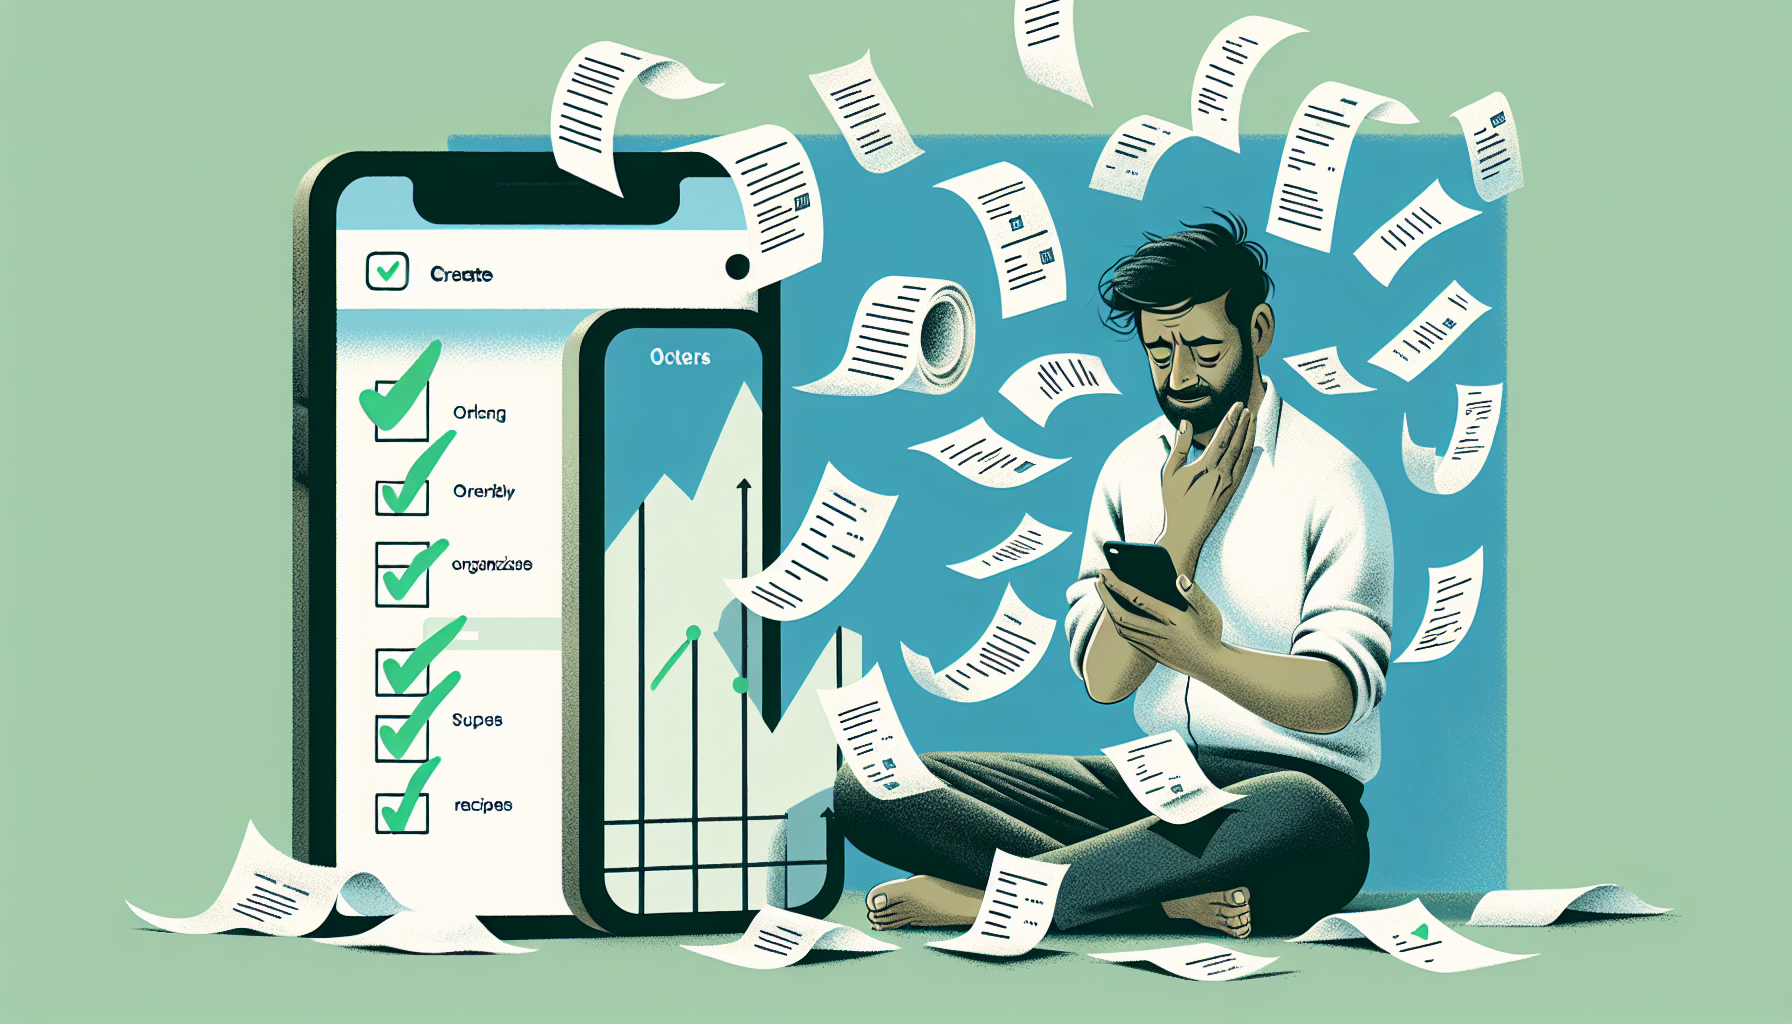
Last month, I found a crumpled Uber receipt from March wedged in my jacket pocket. That was the moment I decided my old system — a shoebox and good intentions — had to die. If you've ever stared down a pile of receipts at tax time or lost track of a reimbursement, you already know why people are racing to automate expense tracking with AI.
Why Manual Expense Tracking Is Costing You More Than You Think
Let me share a number that hurt my feelings: I was spending roughly 6 hours every month on expense tracking. Collecting receipts, typing amounts into a spreadsheet, categorizing things, double-checking totals. Six hours. That's almost a full workday I'll never get back.
And I'm not alone. A 2023 study by Emburse found that processing a single expense report manually takes an average of 20 minutes and costs about $58 when you factor in labor. For freelancers and small business owners, that overhead is brutal.
Here's the thing — most of this work is pattern recognition and data entry. That's literally what AI was built for. When you automate expense tracking with AI, you're handing off the tedious sorting, categorizing, and number-crunching to a system that doesn't get bored, doesn't lose receipts, and doesn't accidentally put your lunch under "office supplies."
I finally made the switch three months ago, and I'm genuinely annoyed I didn't do it sooner. My monthly tracking time dropped from 6 hours to about 20 minutes of quick reviews. Let me walk you through the exact setup.
What You Need Before You Start
Before we dive into the steps, here's your quick shopping list. Most of this is free or very cheap.
**Tools:** - An automation platform (I use Make.com, but Zapier works great too) - An AI API (Claude API is my go-to for parsing receipt data — it's scary good at reading messy text) - A destination for your data (Google Sheets, Airtable, or your accounting software) - A receipt capture method (email forwarding, a phone camera app, or a dedicated scanner app like Adobe Scan)
**Accounts to set up:** 1. Free Make.com or Zapier account 2. Claude API account (pay-as-you-go, usually pennies per receipt) 3. Google account (if using Sheets) or Airtable account
**Time estimate:** 30–60 minutes for initial setup **Difficulty:** Beginner-friendly (no coding required)
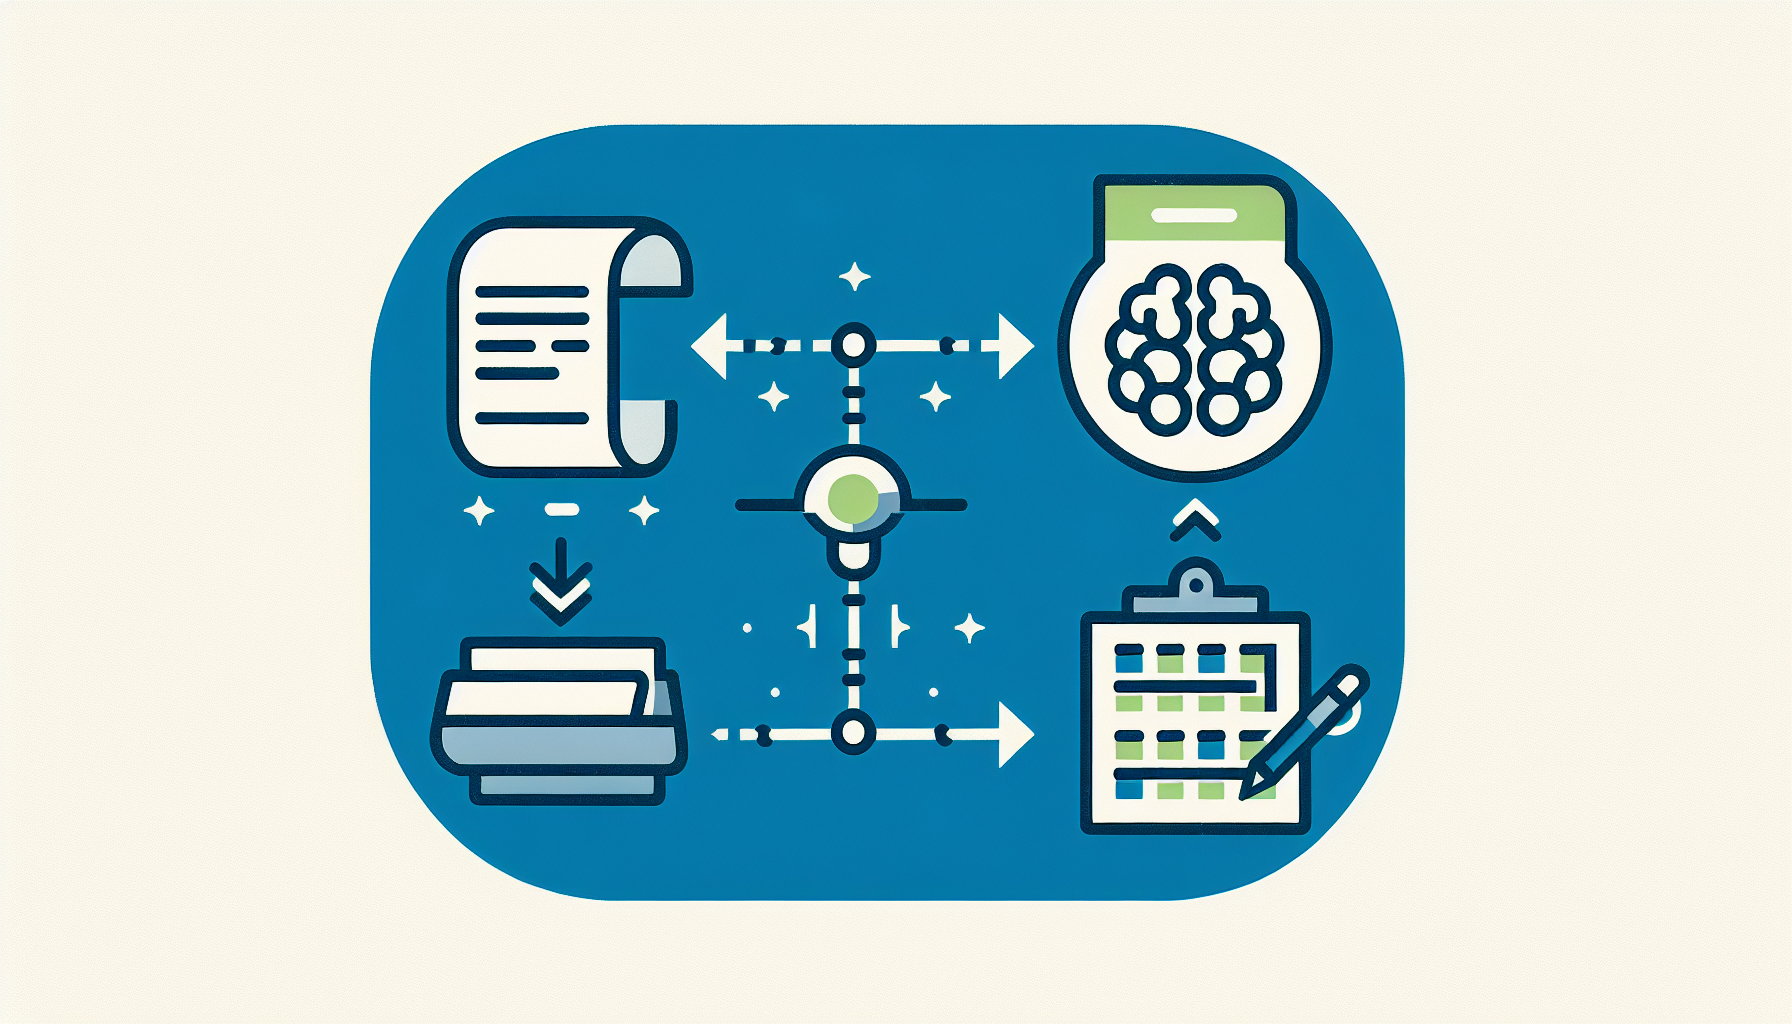
The basic idea is simple: receipts come in, AI reads and categorizes them, and clean data lands in your spreadsheet automatically. Think of it as a really smart intern who works 24/7 and never asks for coffee money.
One quick note — if you're already using accounting software like QuickBooks or Xero, you can pipe the AI-processed data directly into those platforms instead of a spreadsheet. Same concept, fancier destination.
Step-by-Step: Building Your AI Expense Tracking Workflow
Here's the exact process I followed. Took me about 45 minutes the first time.
**Step 1: Set up your receipt intake.** Create a dedicated email address (like [email protected]) or a specific Gmail label. Forward all purchase confirmations and receipt emails there. For paper receipts, snap photos with Adobe Scan and have them auto-save to a Google Drive folder.
**Step 2: Connect your automation platform.** In Make.com, create a new scenario. Set the trigger to watch your receipt email inbox or Google Drive folder for new files.
**Step 3: Send receipt data to your AI.** Add a Claude API module in your workflow. I use a prompt like: "Extract the vendor name, date, total amount, currency, and suggest an expense category from this receipt. Return as JSON." Claude handles everything from clean digital receipts to blurry coffee shop scribbles.
**Step 4: Map the output to your spreadsheet.** Connect the AI's structured response to a Google Sheets row (or Airtable record). Map each field — date, vendor, amount, category — to the right column.
**Step 5: Test and refine.** Run 10-15 receipts through your workflow. Tweak your AI prompt if categories aren't quite right. I added "If the vendor is a restaurant or café, categorize as Meals & Entertainment" to mine, and accuracy jumped to about 95%.
That's it. Once this is live, every new receipt gets processed automatically. You automate expense tracking AI-style, and suddenly month-end is just a quick glance at a dashboard instead of an afternoon of misery.
Real savings? I'm processing about 80 expenses monthly. At roughly $0.01 per AI call, that's $0.80/month in API costs versus 6 hours of my time. I'll take that trade every single day.
❓ FAQ
Is it safe to send receipt data through an AI API?
With the Claude API, your data isn't used for training and is handled under their enterprise-grade privacy policy. That said, avoid sending highly sensitive info like full credit card numbers — most receipts only show the last four digits anyway. For extra safety, you can add a step in your automation to redact sensitive fields before the AI processes them.
How accurate is AI at reading receipts?
In my experience, Claude gets it right about 93-97% of the time on clear digital receipts. Blurry photos or handwritten receipts drop accuracy a bit, so I recommend a quick weekly review of your expense sheet. It takes me about 5 minutes and catches the occasional oddball.
Can I automate expense tracking AI tools with my existing accounting software?
Absolutely. Both Make.com and Zapier have native integrations with QuickBooks, Xero, FreshBooks, and Wave. Instead of sending AI output to a spreadsheet, you route it directly to your accounting platform as a new expense entry. Same workflow, just a different final destination.
Conclusion
Setting up a system to automate expense tracking with AI was honestly one of those "why didn't I do this years ago" moments. The combination of an automation platform like Make.com and the Claude API gives you a surprisingly powerful receipt-processing pipeline for less than a dollar a month. If you're still manually entering expenses, do future-you a massive favor and spend 45 minutes building this workflow today. Your tax season self will thank you.